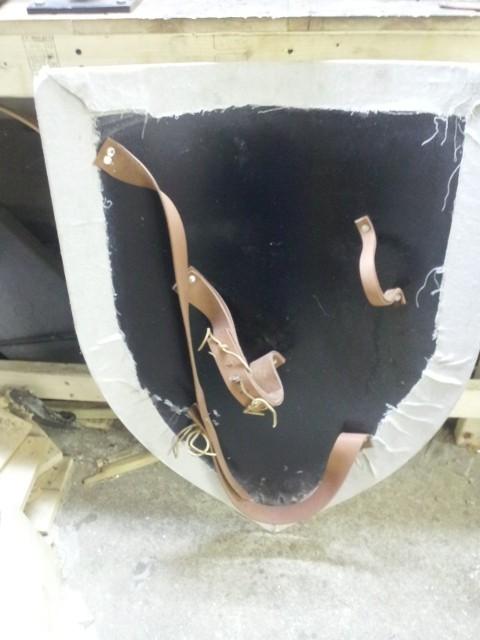
http://james-anderson-iii.com/tutorials/pages/strapping-a-shieldSpent some time strapping up my shield blank, so I figured I'd write a tutorial along with it. The concepts apply to almost any shield, except for viking/rotellas.
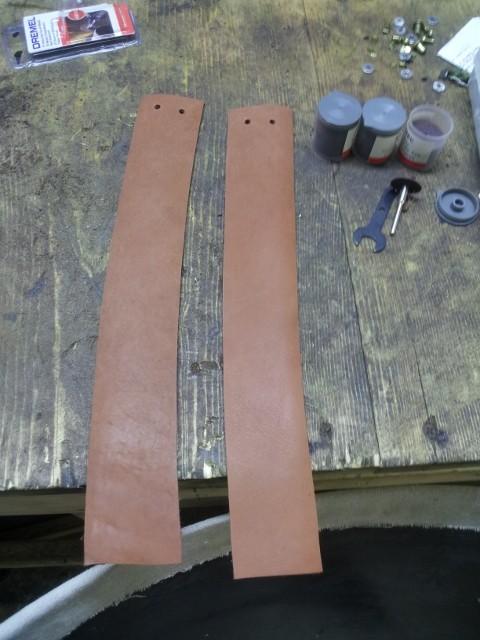
NOTE: I've used doubled-up straps for the grip/forearm straps since the leather is thinner than I prefer. I did the guige in single strap, which *I think* will work.
Step 1: Acquire a shield, some leather for strapping, rivets, etc
Step 2: Find where you want the shield to sit on your arm when you are holding it. This usually requires a friend, or somewhere you can set it upright to mark; which seems to require three hands.
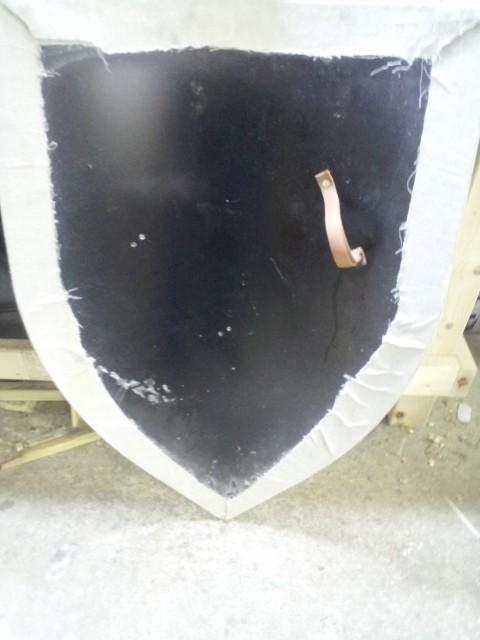
Step 3: Using the outline for where you want your arm, make a hole on both sides of where the palm of your hand will be.
Step 4: Using the outline for where you want your arm, make a pair of holes on both sides of where the thick part of your forearm will be (closer to the elbow, but not at the elbow).
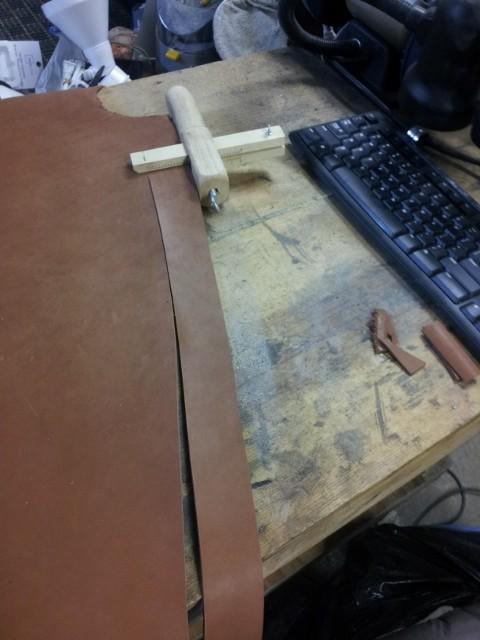
Step 5: Cut straps to use for the hand grip and the forearm strap. Punch holes accordingly. The hand grip generally does not need any holes or adjustment - just make sure you can still fit your hand through it with your glove/gauntlet. The forearm strap is nice to have some adjustment, but isn't required.
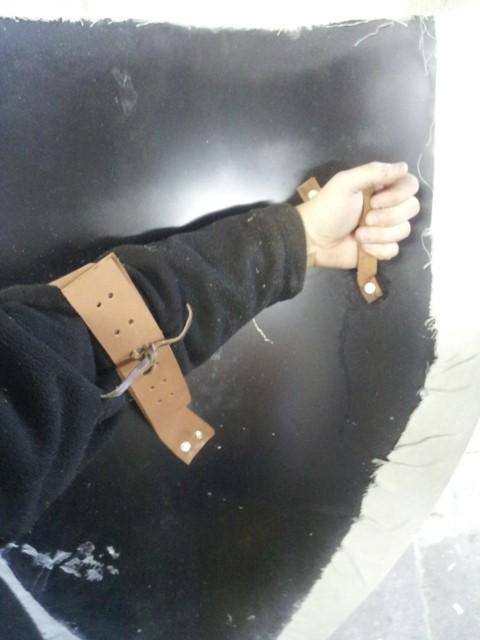
Step 6: Rivet/attach the hand grip and forearm straps. Test the shield to see how it feels and how it moves. If you have holes in the straps, you can use ties or a buckle to adjust the fitment a bit. I chose to go with leather ties.
Step 7: OPTIONAL: If you are using a guige strap (a cross-body strap to carry the shield on your back), find a comfortable position for the shield to sit, and mark for the ends of the straps according. As with the forearm straps, cut, attach, punch holes, and lace/buckle.
Step 8: Any finishing work you want to do on the shield should be done after assembly. Painting, etc. No pictures of the front mine, since I still need to paint it.
Notes: You can use nuts/bolts for a combat shield, or if you need to remove the strapping often for maintenance and/or breakage. I riveted mine since the shield will be non-combat and won't see heavy use. An "acorn nut" with the hex sides filed down to round looks similar to a dome-head rivet, only protrudes a bit further.
Cutting straps:
Hand grip:
Forearm straps, before lacing holes
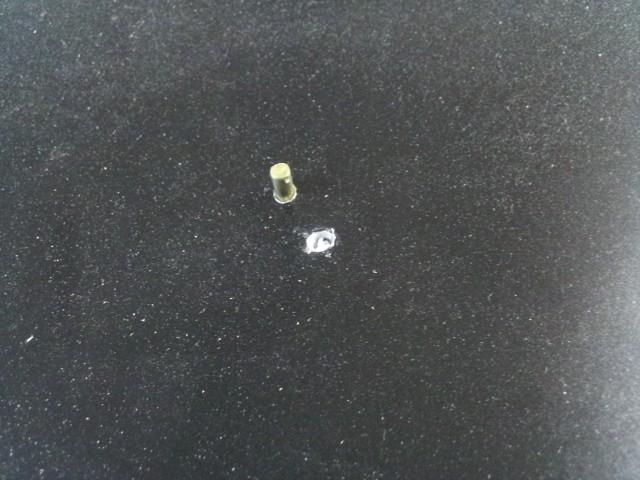
Just a picture of a rivet
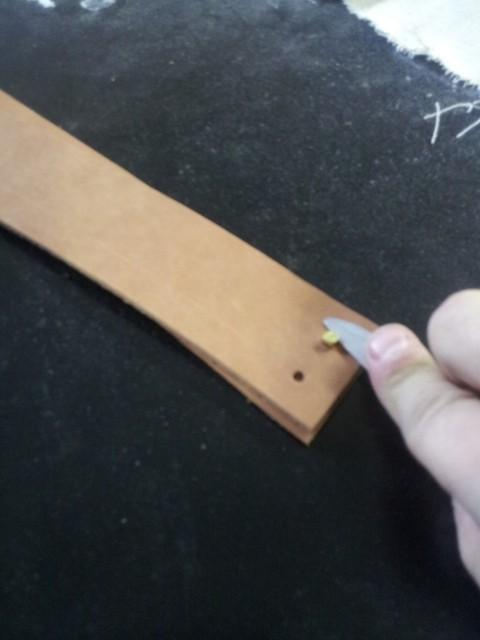
Push the leather down firmly over the rivet to fully seat it
Left side - leather pressed down. Right side - not pressed down. Note the difference, on the same size rivet.
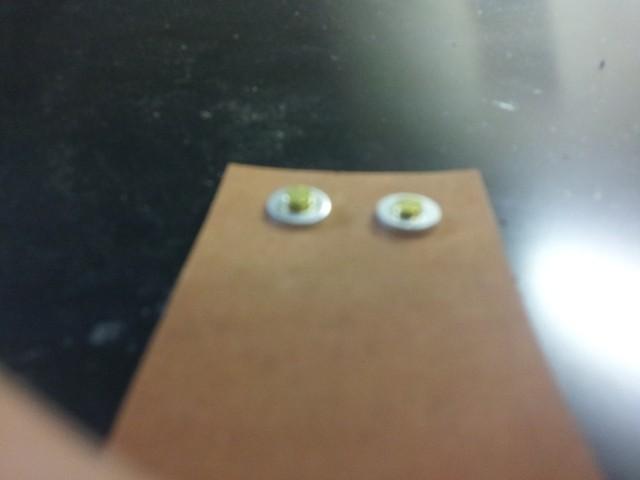
Peened down
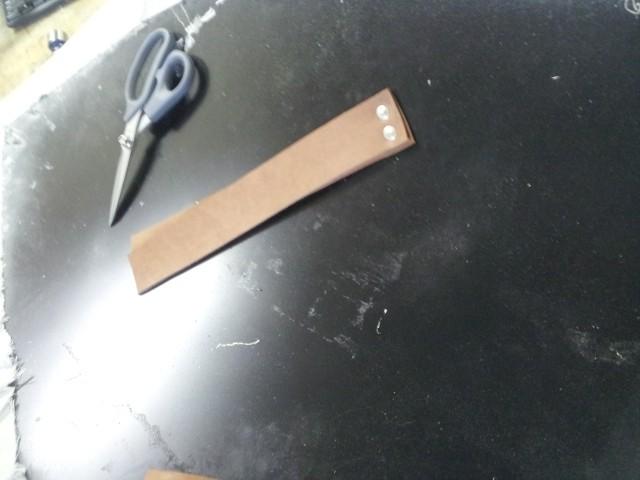
Punching lacing holes
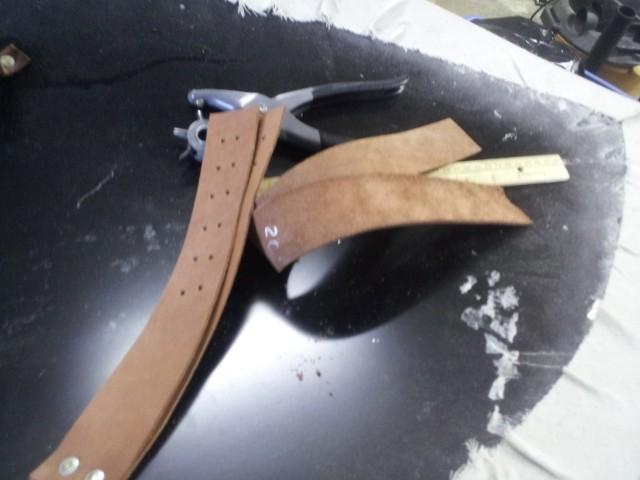
Cool, it works!
Guige strap done, lacing holes done, ready for finishing
