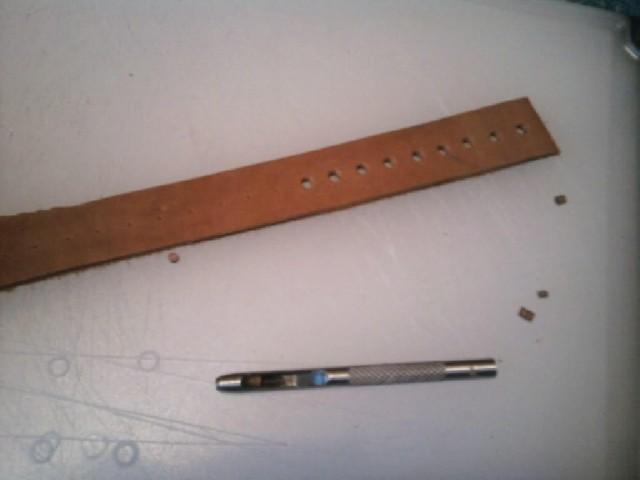
What tools are required?A method to punch a hole for lacing - rotary punch, hammer punch, a sharp nail...
Lace
Mail
Leather
Why do this?Leather edging on mail serves many purposes, such as reducing stray "edge" rings from snagging on other rings and/or under/arming garments, as well as providing a solid, easy to point foundation to attach to arming garments or lace through. The leather is also much less abrasive to the points, and will extend the life of the points compared to lacing directly through the steel mail.
Is it period / historically based?There are some historical images which seem to show leather edging of mail. These pictures are from the Bayeaux Tapestry:


Note the dark edges, in particular on the mail that is carried on the poles. It has been suggested this is leather edging, and is at the spots where it would provide the most benefit.
How Do I Do This?If you enjoy doing things the hard way, or don't have a rotary punch, grab ye olde hole punch and hammer and start piercing holes in your leather strip. I've found the best spacing for the holes is about 10-15% smaller than the outer diameter of the rings. This may be vary depending on the ring type/size; I am using 9mm flat riveted rings.
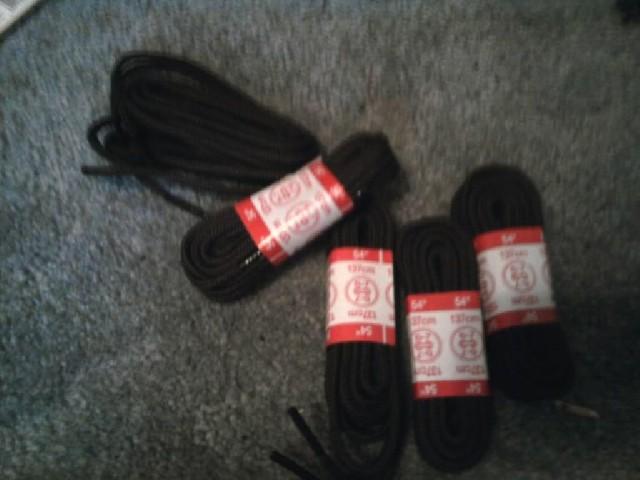
Next, acquire some lacing. I'm using cheap wal-mart shoe laces; hemp or twine is more appropriate (but harder to find).
There are two ways I have used to lace the leather to the mail. I have found differences between the way the mail interacts with the leather depending on how it is laced.
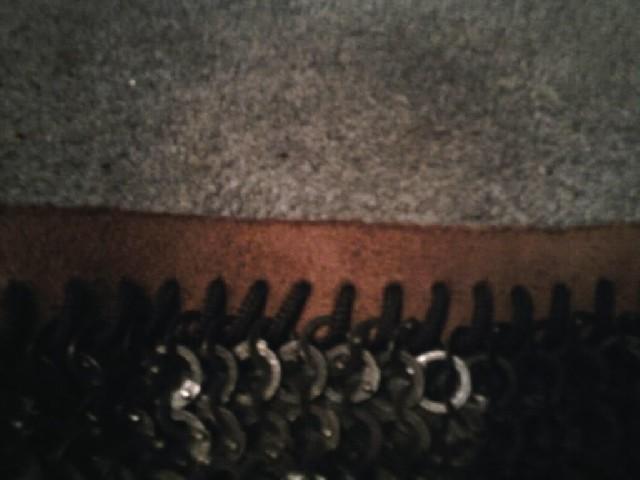
To lace the mail to the leather for mail that "hangs" from the leather, such as a fauld or chausses:
- Begin by putting one end of the lace through the leather. Pull a bit of slack through the rear (body) side of the leather.
- Next, take the outer end of the lace and pass it through the first mail ring.
- Next, pull the lace behind the leather strip, and pass it through the rear of the leather and through the front.
- Next, put the same end of the lace through the link next to it *on the same row* - note that this will be "two" links over due to the way the 4-in-1 pattern alternates the rings.
- Next, pull that end through the next hole in the leather strip, and pull it snug against the leather. It does not have to be pulled tightly; too tight, and it will deform the leather; too loose, and it will cause the mail to droop.
- Once you have done a few "loops", tie off the beginning lace in the rear. Leave a little slack on it.
- Continue with the long end of the lace through the next ring, and continue until reaching the end of the leather or running out of lacing.
- When all of the lacing is done, pass the slack of the tied-off ends through the tight "loops" created by the lace behind the leather. This keeps the loose ends from flopping around, and keeps it looking good.
With this method, the leather is on the inner (body) side of the mail. Results of this method:
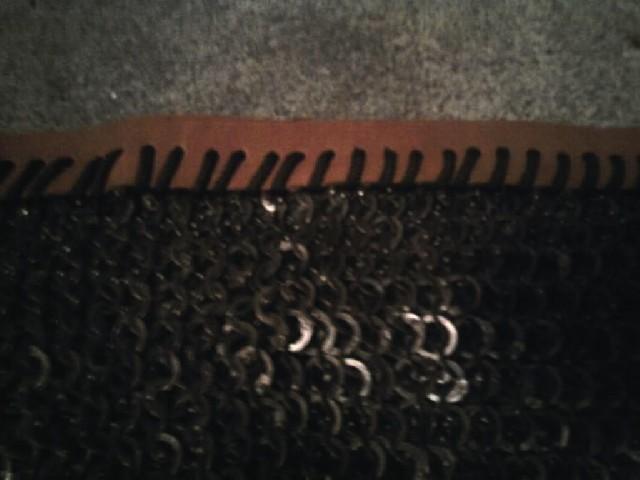
To lace the mail to the leather for mail as an "edging" that does not support weight, such as the bottom or edges of a hauberk or end of it's sleeves, I use this method:
- Begin by putting one end of the lace through the leather. Pull a bit of slack through the rear (body) side of the leather.
- Next, take the outer end of the lace and pass it through the first mail ring.
- here is where it differs from the previous method....
- Next, instead of passing the lace behind the leather again, thread it through the next ring on the row from the outer edge inward towards the body; thread it through the leather strip and pull it firm but not overly tight. The pattern you are making is a simple "u" connected to a "n" connected to a "u" - unununun - but with the letters "attached" in one continuous, snake-like line.
- and here it continues as with the previous method....
- Once you have done a few "loops", tie off the beginning lace in the rear. Leave a little slack on it.
- Continue with the long end of the lace through the next ring, and continue until reaching the end of the leather or running out of lacing.
- When all of the lacing is done, pass the slack of the tied-off ends through the tight "loops" created by the lace behind the leather. This keeps the loose ends from flopping around, and keeps it looking good.
With this method, the leather is on the outer side of the mail and is more "pronounced". Results of this method:
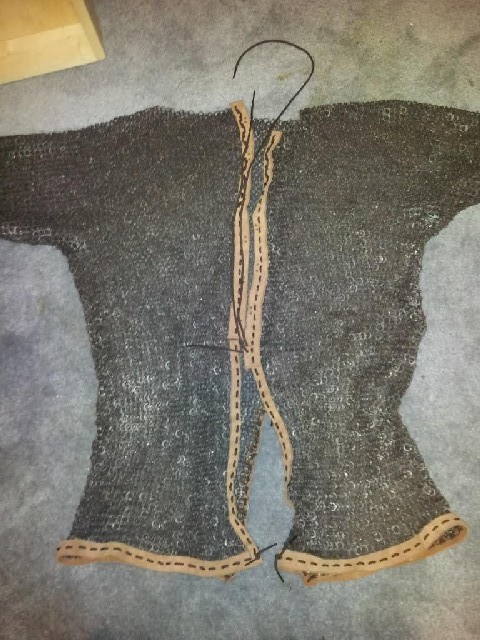 Notes
NotesI sourced my leather and punch set from
Brettuns Village Leather.
The mail is from
IceFalcon.
EDIT: Here's some extra info about the lacing in the final results picture. The hanging lacing at the bottom corners is because the shoe lace that I used wasn't long enough to make the entire run, so that's just where I tied it off. I went back and tied it off on the inside, and took the "excess" loose from tying it off and tucked it into the lacing in the back. If you look on the right side of the photo, it looks like the leather strip gets thicker about 1/3 of the way up; it does. I put 6 pairs of holes in the thicker leather strip from there up to the neckline, and the really long laces go through those holes to lace it shut (I did it overlapping). The thinner part, the lower 1/3, is left open as the normal chausse split; you can see the same thing in the back. The back is solid 2/3 of the way down and I leather trimmed all the way up that opening too.