Greetings everyone
Three weeks in - phase two
so I finally have some form of camera now. Long story short that was fun and it's nice, even if it is on my phone, to finally have something to take pictures with so Sir Wolf doesn't ban me!

as of late, I have been coiling more pounds of wire into coils, cutting them, and getting them "lapped" as I have come to call the overlapping to get the ends for riveting. I've also done some experiments with different rings to see what works and what doesn't for my research.
Here's what I have to date:
first off, I need to say that bar none these tools are worth their weight in gold!
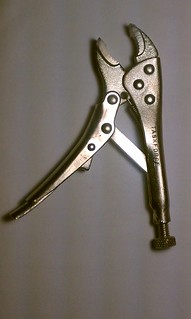
and here's why:
not only are they good for the mail weaving process itself but they are also great for lapping the ends of the rings!
here's how I do this, and I'll post up a video as well showing the process as a whole later:
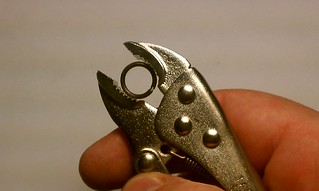
and on to the experiments, without annealing, the lapped rings are nigh impossible to smush, and yes, that's the best word I can use to describe it. Basically, as one hammers, the end underneath walks and never wants to stay under:
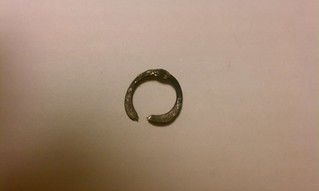
I tried this four different times with the same results no matter what I did with the hammer or anvil, or placement of the rings.
for the non-annealed rings, the best way to hammer them is to do it before they are lapped which makes what appears to be a nice ring afterwards:
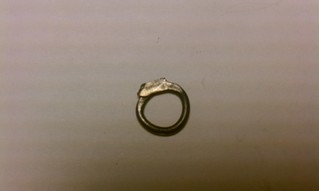
BUT
they don't exactly like to smush together:
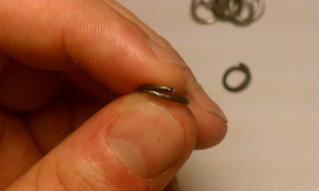
nor is it very uniform in smushing

(I was actually wondering if I took a profile shot of the lap and had to double check this!)
and here, are my good ones:
these were annealed actually on my bbq in Havasu not with my torch as I forgot that when I went for the weekend. The annealed ones with the torch look even better.
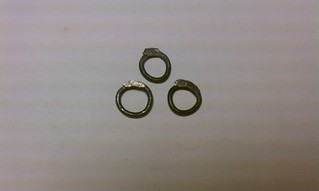
and here is what they look like in the profile view of the lapped joint
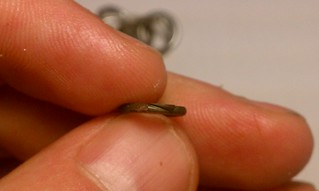
much better

so what did I learn? pretty much what I've found from others remains to be true. Patience is a virtue and if one doesn't skimp on any of the steps, the result is very rewarding. To put my use down as efficiently as I can:
after coils are cut into rings I overlap the rings with my vicegrip
I then anneal them to an orange, almost orange-yellow color
I hit the ring two-four times on one side - only on the lap, with a 32oz mallet
I flip the ring over and do that again on that side to give it a uniform finish
I then clip the edges if needed, followed by filing if needed.
and how long does this take? well you'd be surprised. I can anneal up to 250 rings at once with the rig I have set up now with my torch, and they cool within a couple hours but I wait until the next day. I can hammer out probably more than that in an hour and it's quite relaxing and a great way to relieve pent up stress too. I love the sound!
So all in all this phase of the work isn't all that tough at all and quite fun.
when you combine this with the punched rings I'm going to purchase, it won't be too long at all until I have all my rings made, and then on to the fun part

weaving my mail, then riveting the rings after it's all woven

here's a teaser I made with some galvanized butted rings to stand in for the punched rings, and I didn't rivet it.
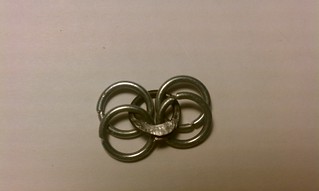
I'll be sure to post up the video about how I overlap my rings once my phone charges back up again
YIS
B. Patricius